Applying and Adjusting Your
EXTREMIT-EASE Compression Garment
Step-By-Step Application Instructions
Application of your EXTREMIT-EASE Compression Garment is as easy as Slide – Zip – COMPRESS! Follow the simple steps below for the correct application and adjustment of your garment to achieve effective compression therapy.
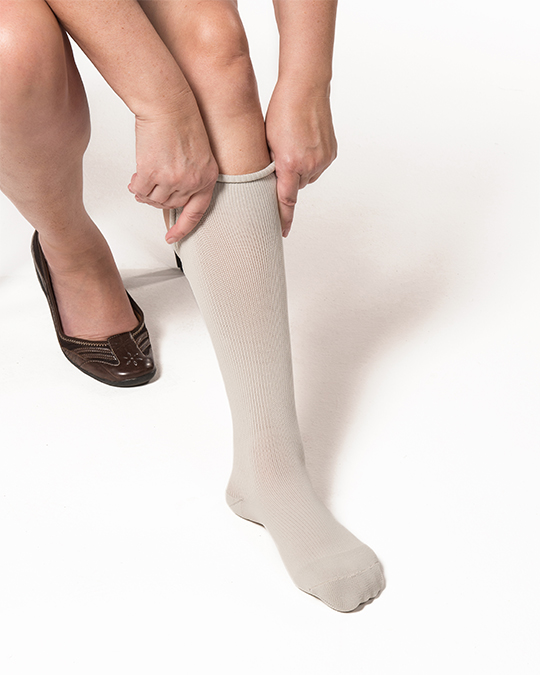
1. Apply the Garment Liner
Apply the EXTREMIT-EASE Garment Liner as if you are putting on a sock. Be sure to place your toes all the way to the end of the liner and work out any extra space or wrinkles throughout the liner to avoid discomfort after compression is applied.
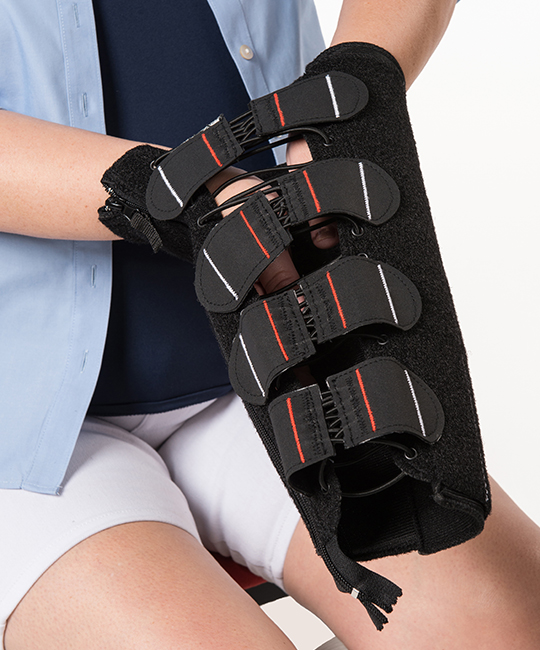
2. Release and Loosen
It is important to completely release all four sets of bungees/tabs on both sides of the garment to ensure you will be able to fit your leg in the garment and zip it up. Reattach the tabs as close to the center opening as possible, to ensure the bungees remain loose until you are ready to apply compression.
Loosen the garment by pulling against the fabric to open and increase the center gap.
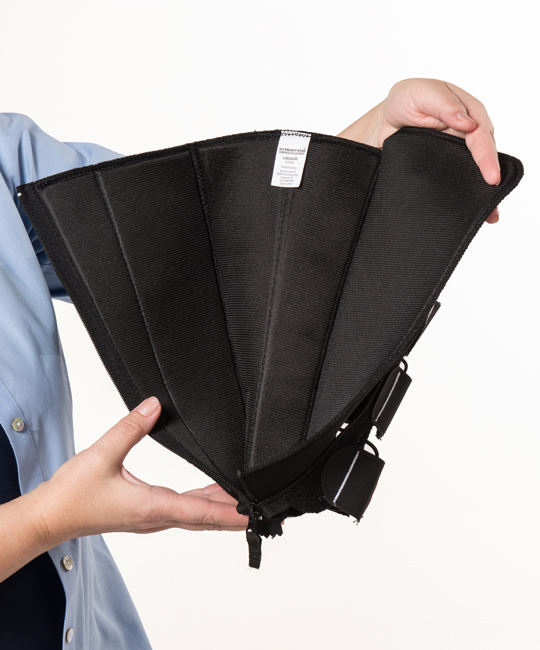
3. Unzip and Open
Unzip the garment and open it up, ensuring the tongue is pressed against the bungees.
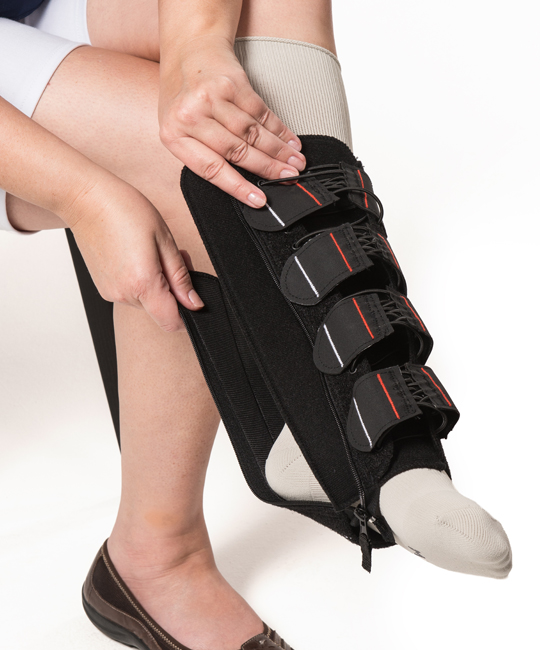
4. Slide and Zip
Slide your foot into the garment and zip it up to secure the garment in place.
Upon initial application, your garment may feel snug.
Rotate the garment to align the bungees with the front of the leg. Position the garment just below the knee and double-check the garment tongue to make certain there are no folds or wrinkles.
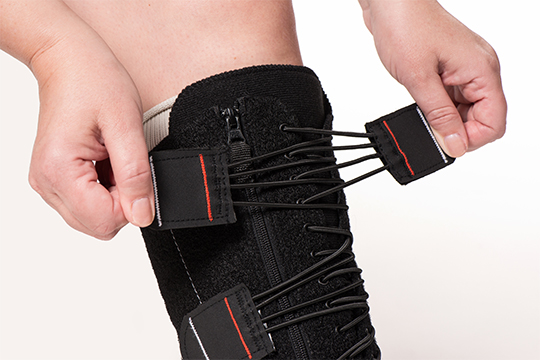
5. Apply Compression
Starting from the bottom set of bungees, grasp the tabs using your index finger and thumb. Pull the bungees away from the garment, contracting the space between the eyelets.
Secure each set of tabs to the garment evenly on opposing sides.
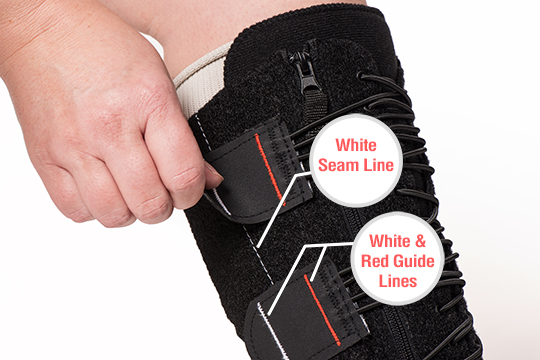
6. Achieving Desired Compression
Use the white and red guidelines sewn into the tabs and the white seam line sewn into the garment to achieve desired compression levels.
For lower compression, align the white guideline with the white seam line. Adjust the red guideline closer to the white seam line to increase compression levels.
As your treatment progresses, the gap between the eyelets will grow smaller. If no gap is visible anywhere along the front of the garment, it is time to switch to a smaller garment for effective compression.
NOTE: It is not recommended to compress beyond the red guideline!
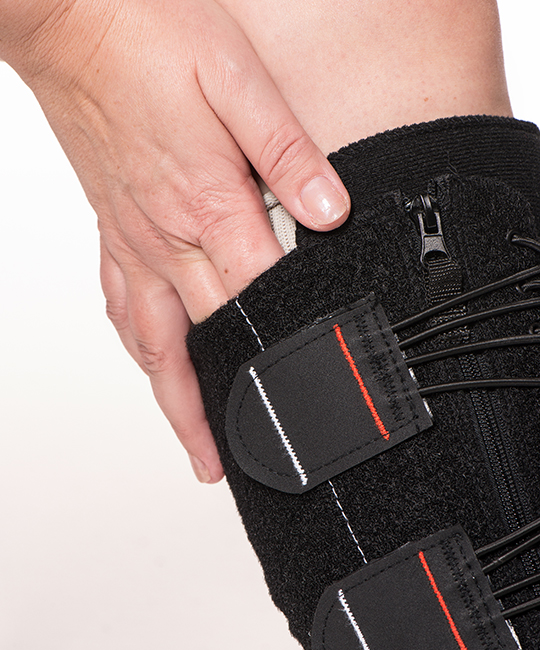
7. Checking Compression
To check that your level of compression is set properly, insert two fingers between the garment and your leg. Your fingers should fit snugly, but without difficulty.
If the garment is too tight, simply loosen the bungees/tabs and test again.


